Render Avatars
Overview
Our API includes an endpoint for rendering avatars in various scenes. This feature allows you to create visually appealing representations of avatars in different settings.
Endpoint Access
Access the rendering endpoint here: Render Avatars Endpoint.
How It Works
The process for rendering an avatar is straightforward:
- Initiate Render: Send a request to the
/renders/newendpoint from your back-end (as it requires a secret token). - Task Creation: The endpoint generates a rendering task and responds with a task ID.
- Completion Notification: Once rendering is complete, a
render.readywebhook is sent. This contains the task ID, avatar ID, and a short-living link to the rendered image. You should download the image to your backend within 15 minutes after the webhook is sent.
Important Note: The behavior of this endpoint for avatars created by direct photo upload and not accessed via a browser is currently undefined and subject to change. To ensure predictable behavior, set customization through the corresponding endpoint.
Available Scenes
Below is a table of our standard scenes. You can preview these to understand the output style and context. To use these scenes in the render endpoint, add the scene name to the scene parameter of the request in the format common/{scene_name}. For example, to use the "city_full_body" scene, set scene to common/city_full_body.
| Scene Name | Description | Preview |
|---|---|---|
| city_full_body | Full body render in city setting | 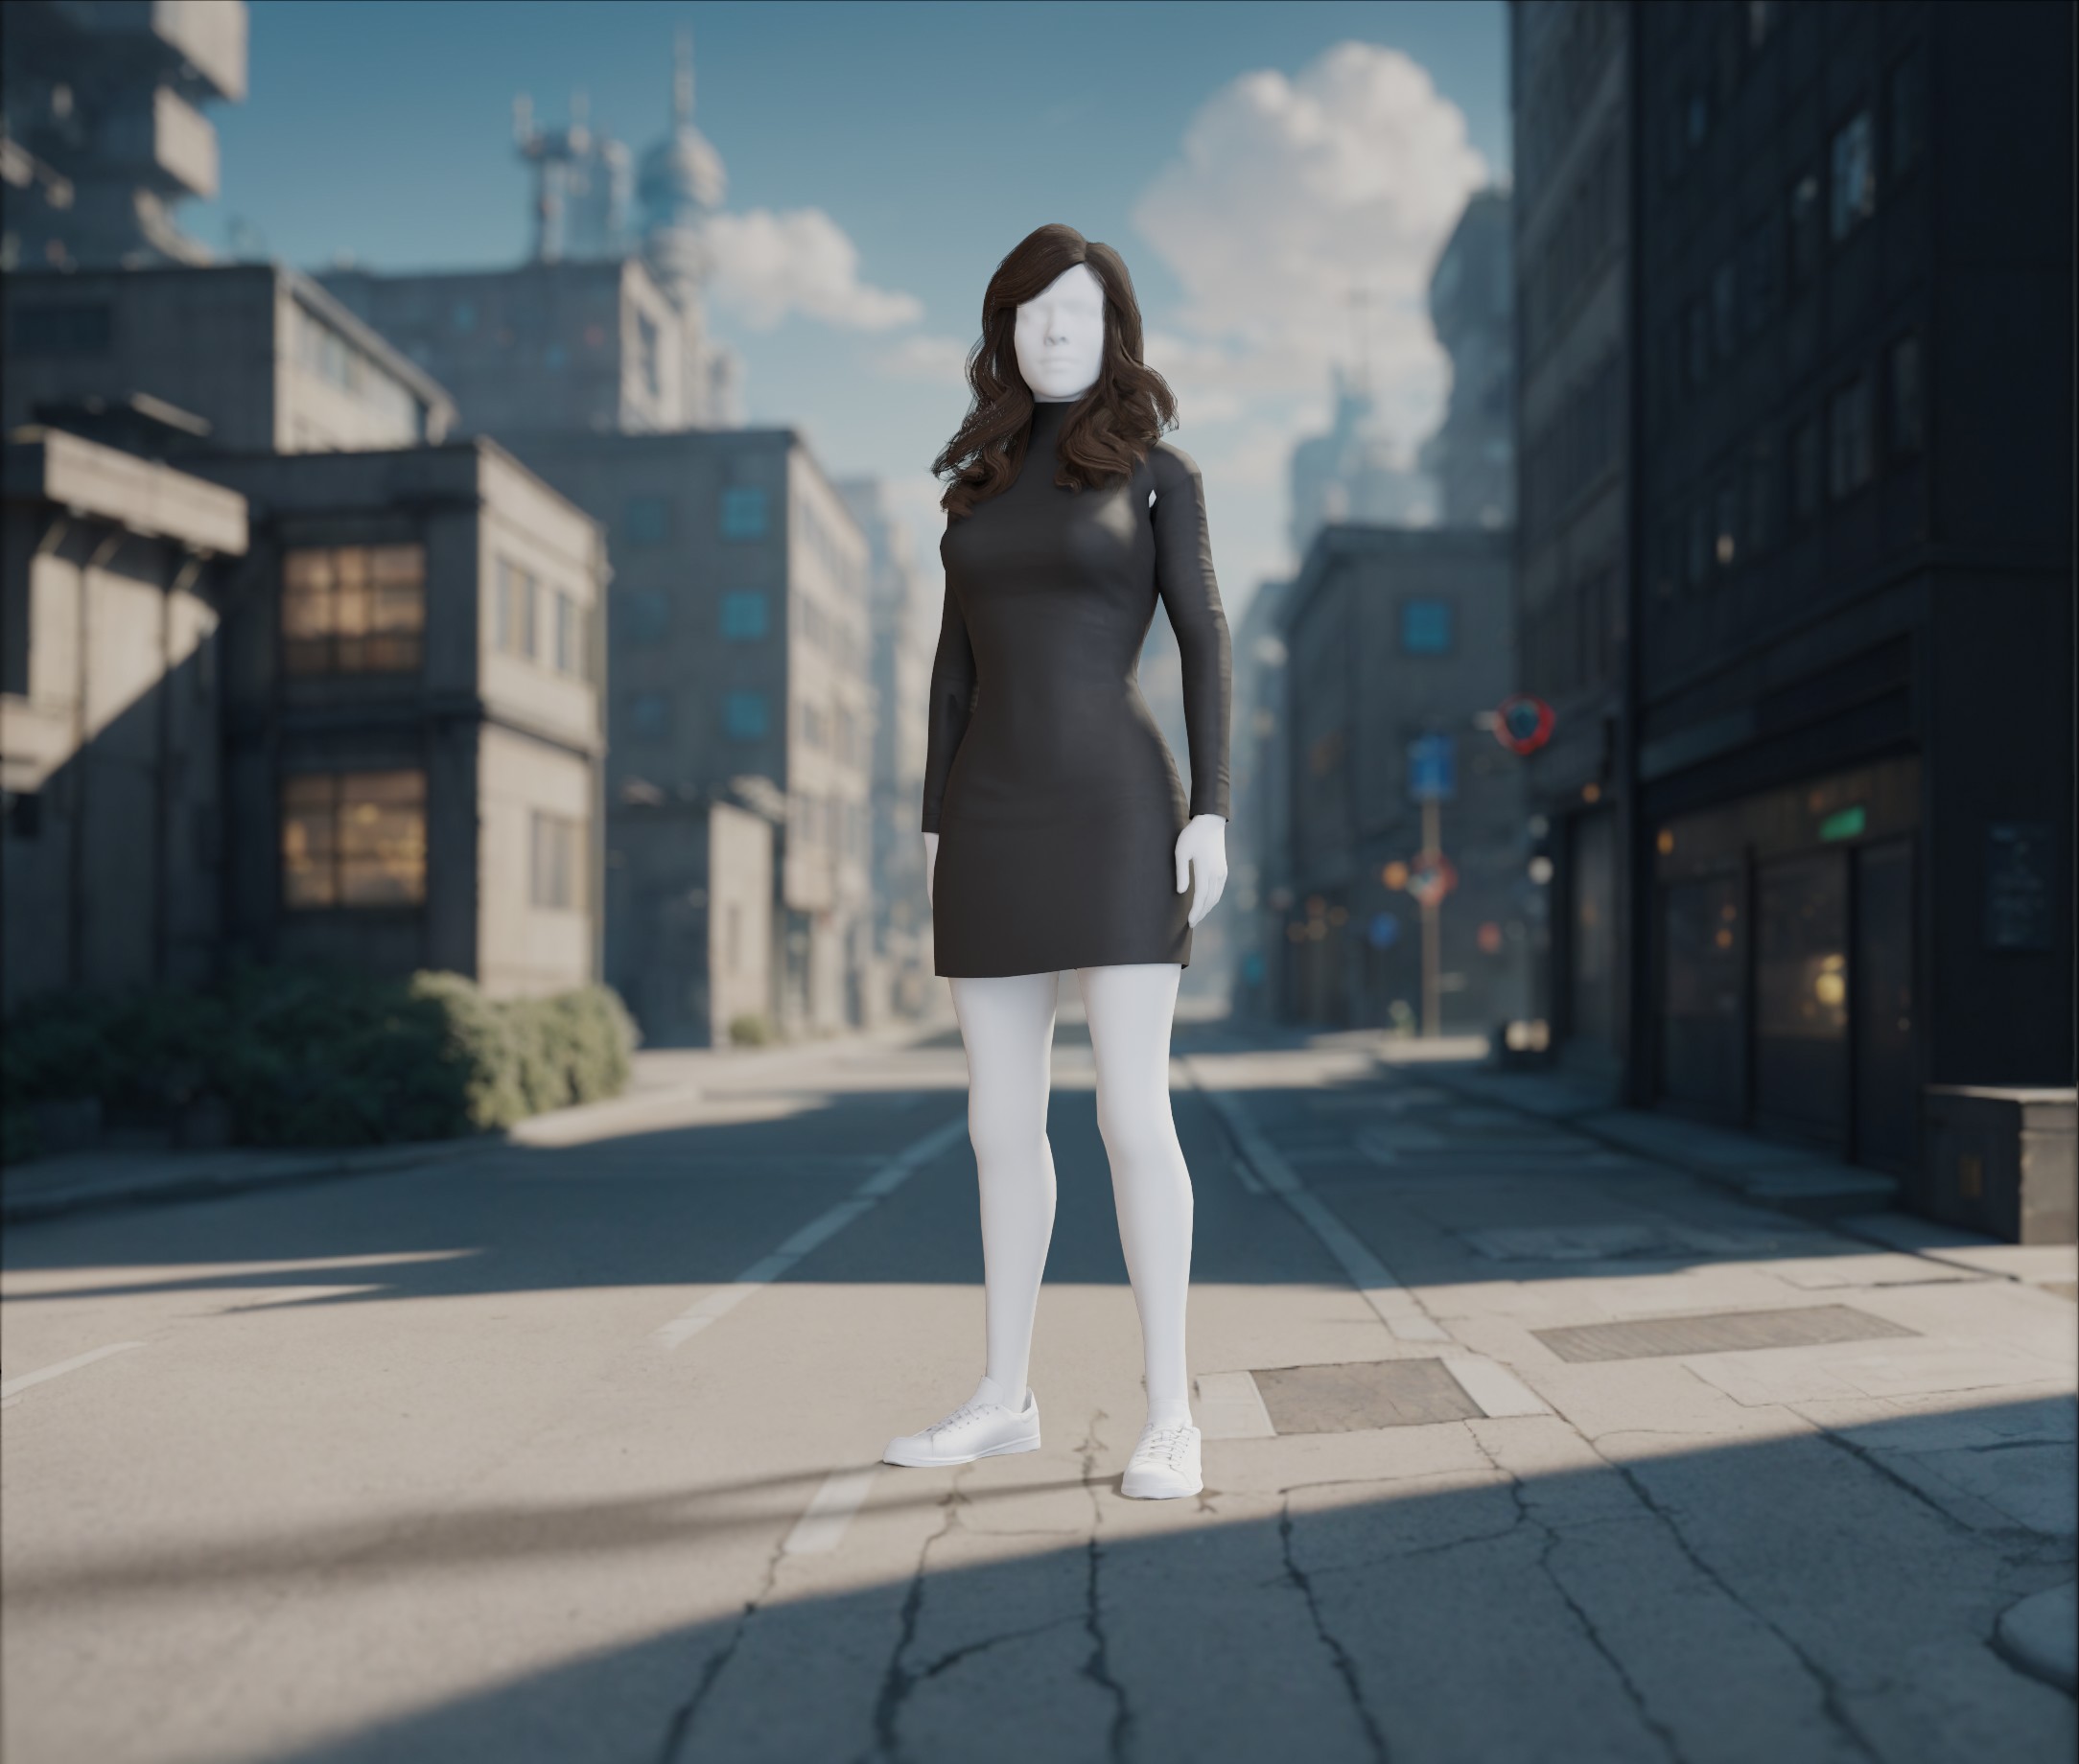 |
| forest_full_body | Full body render in forest setting | 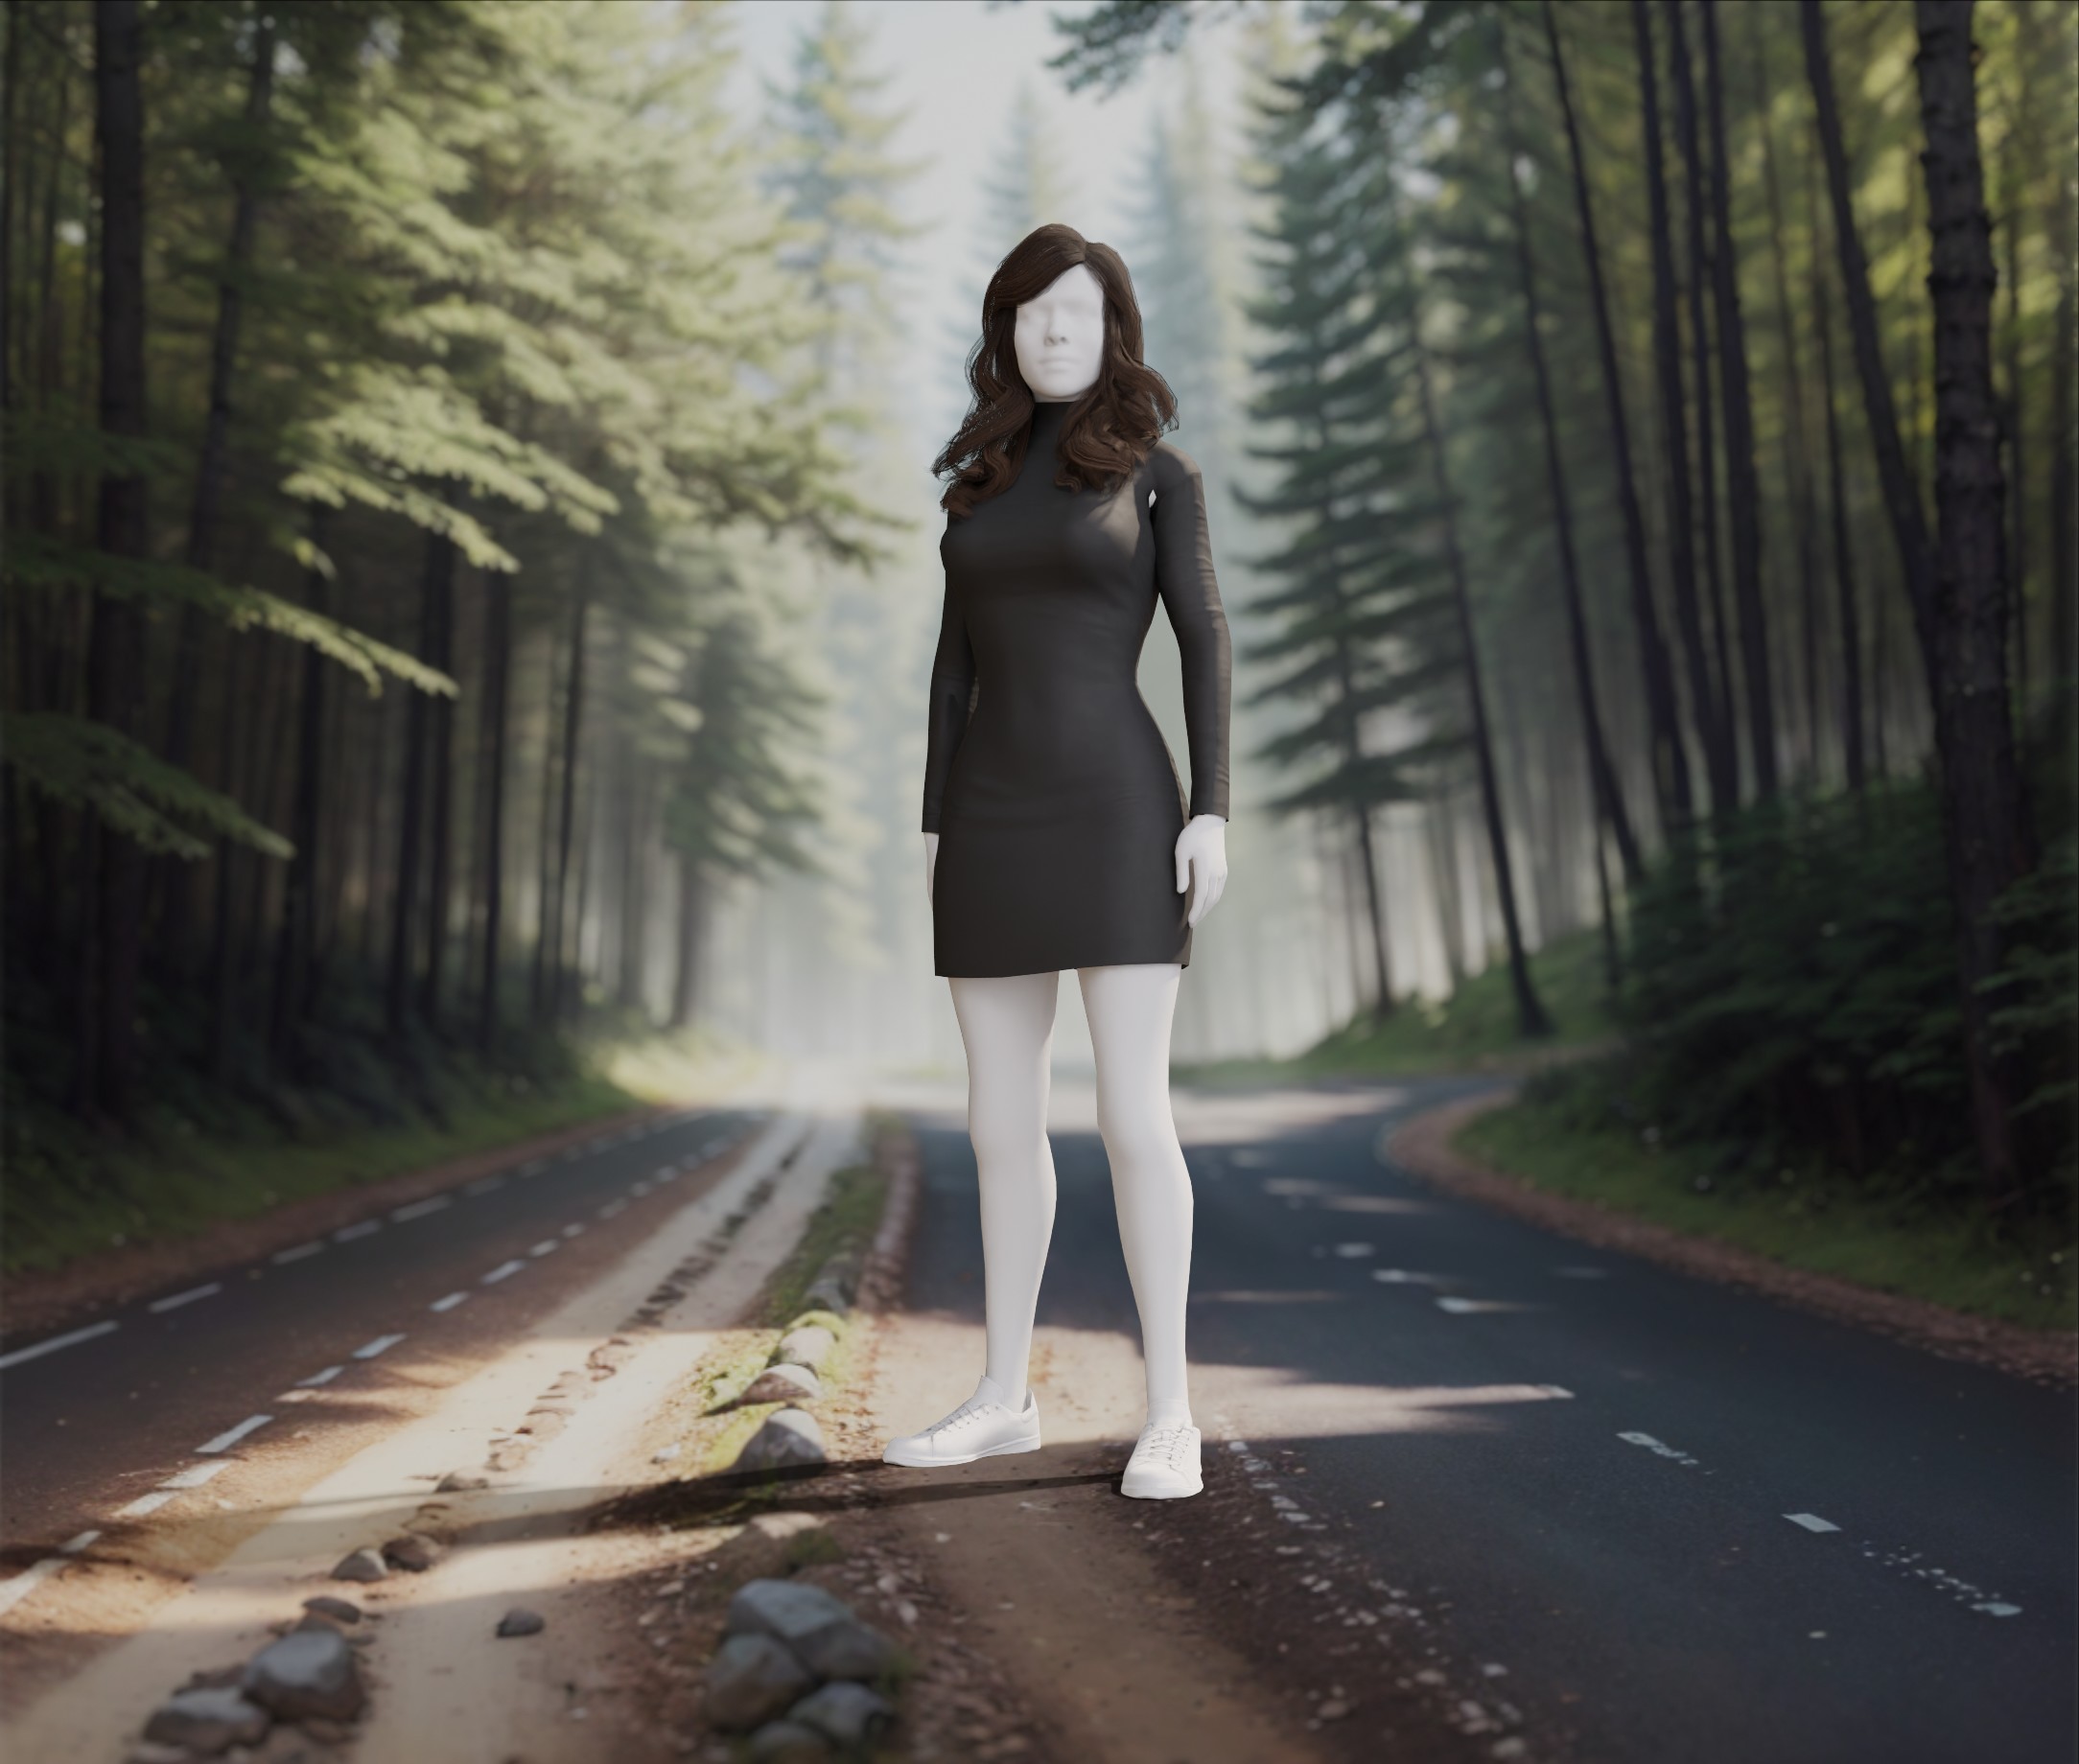 |
| futuristic_fantasy_full_body | Full body render in futuristic fantasy setting | 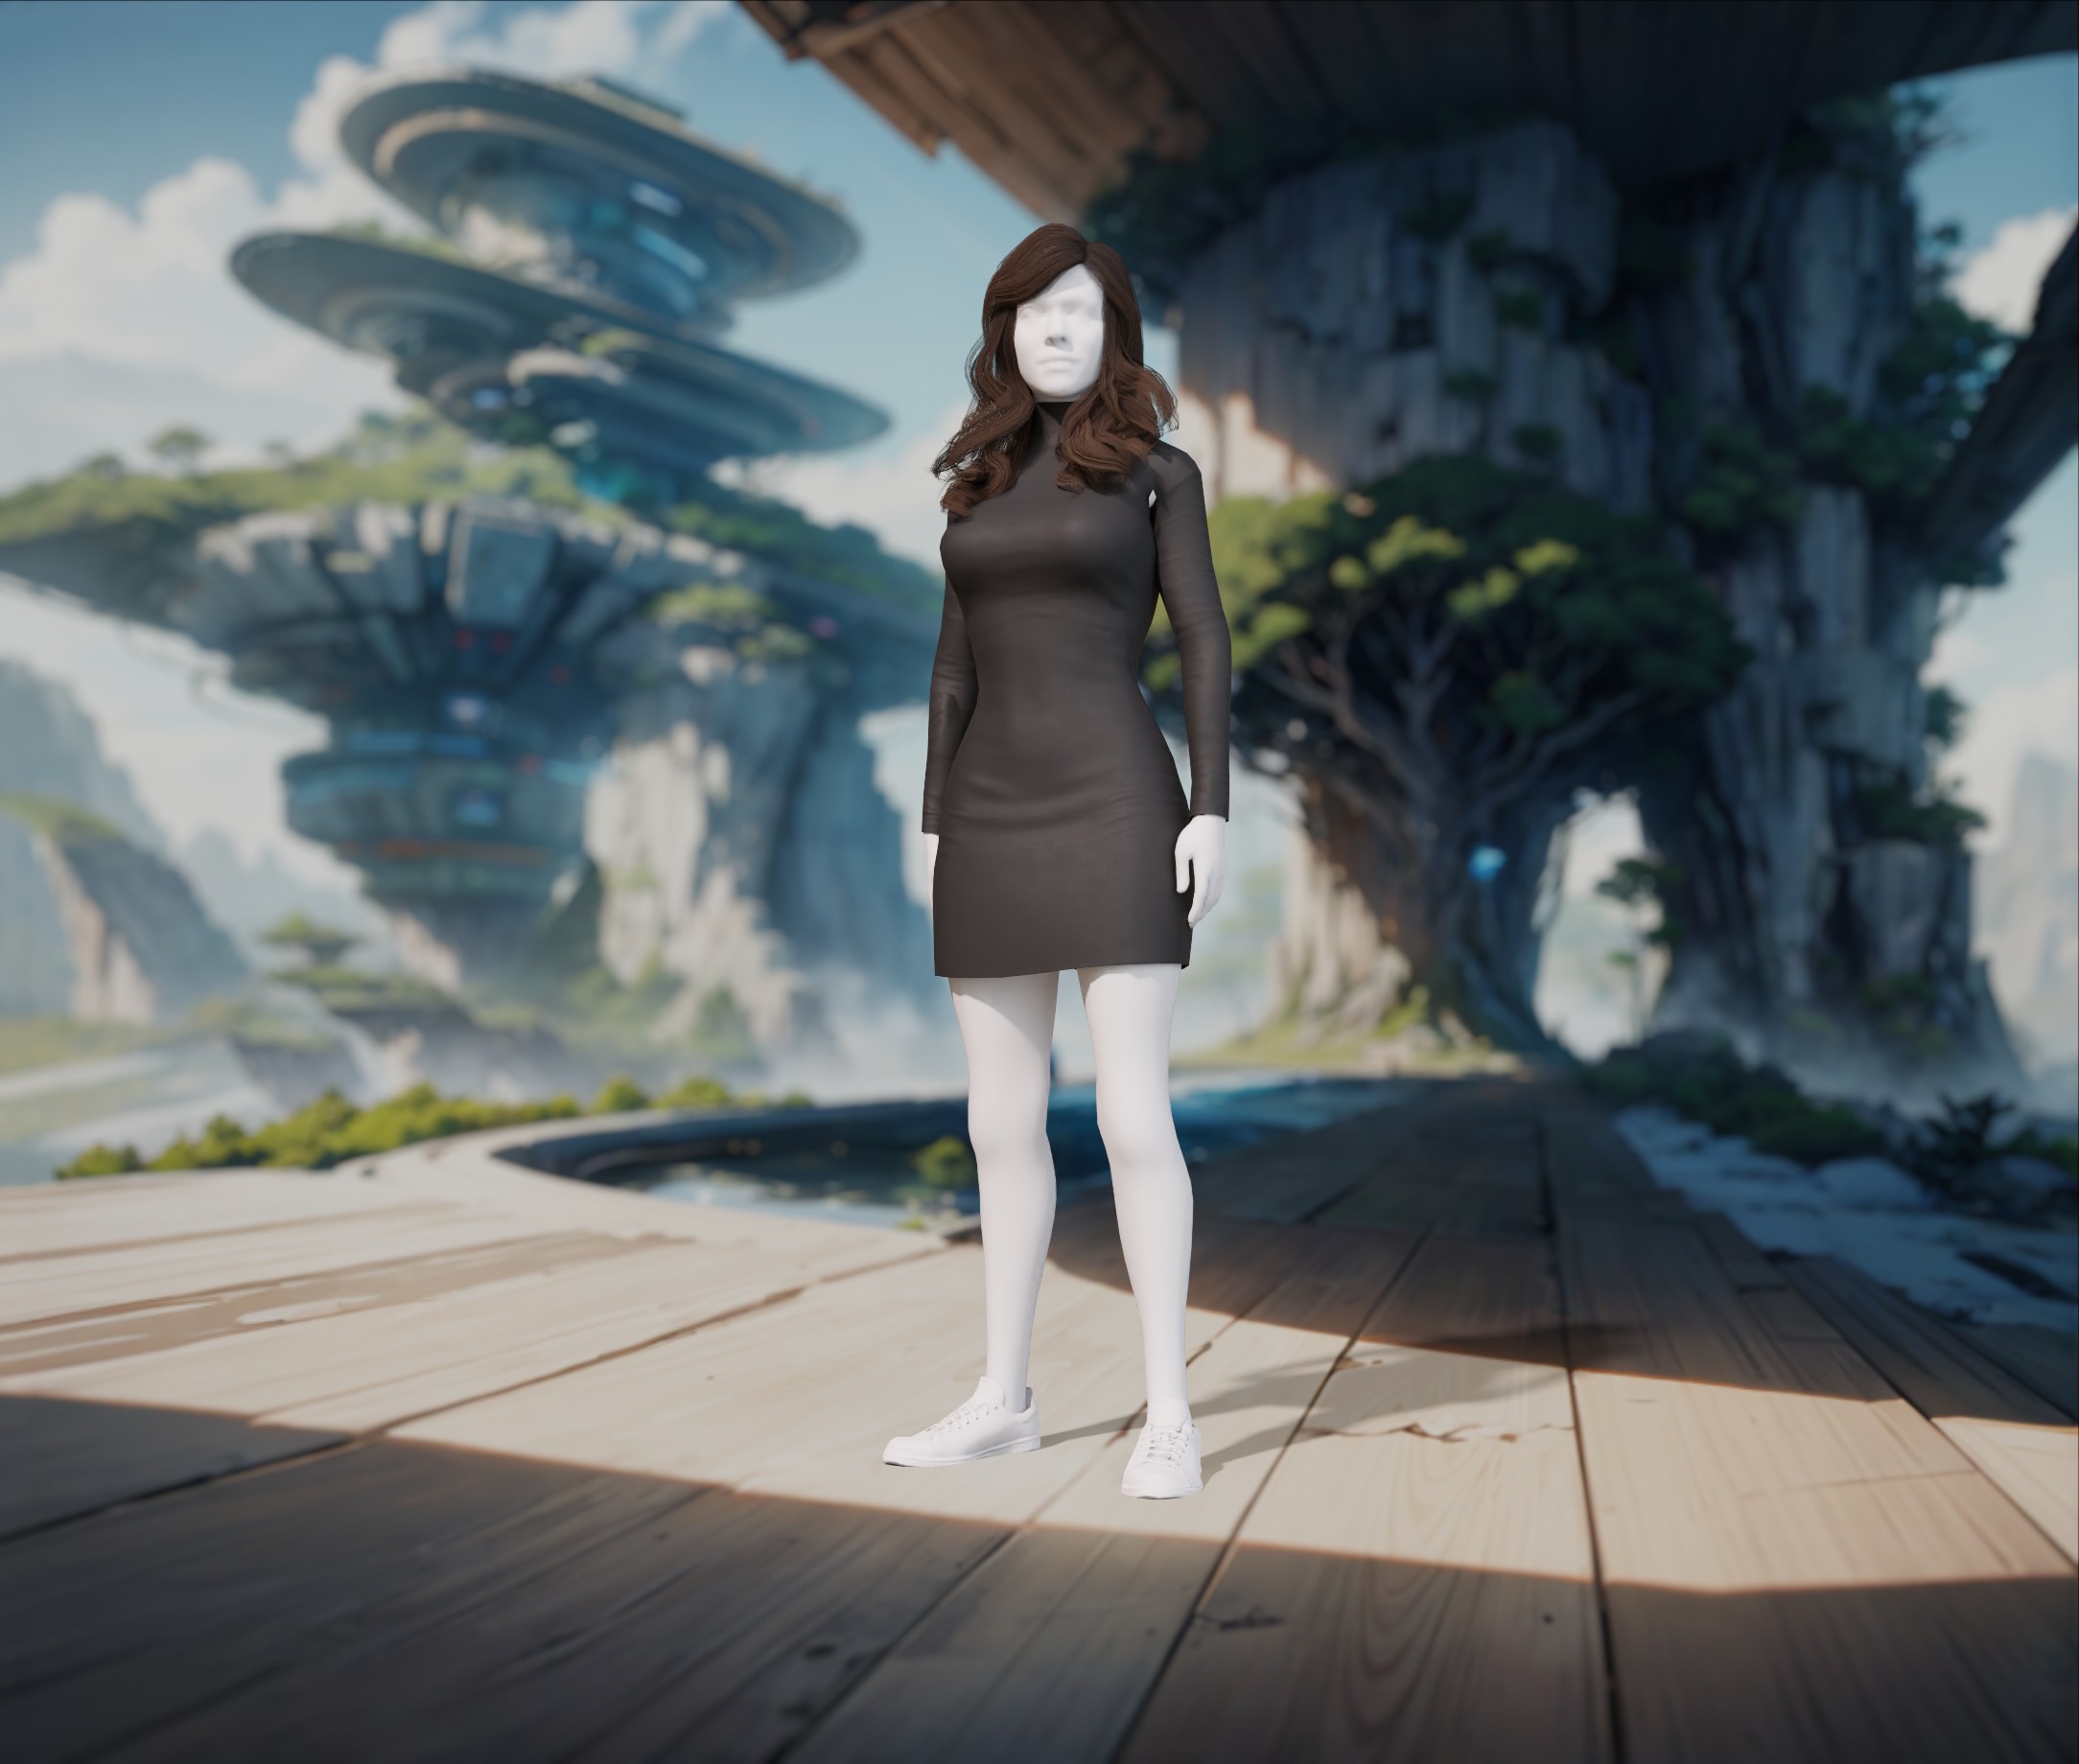 |
| forest_half_body | Half body render in forest setting | 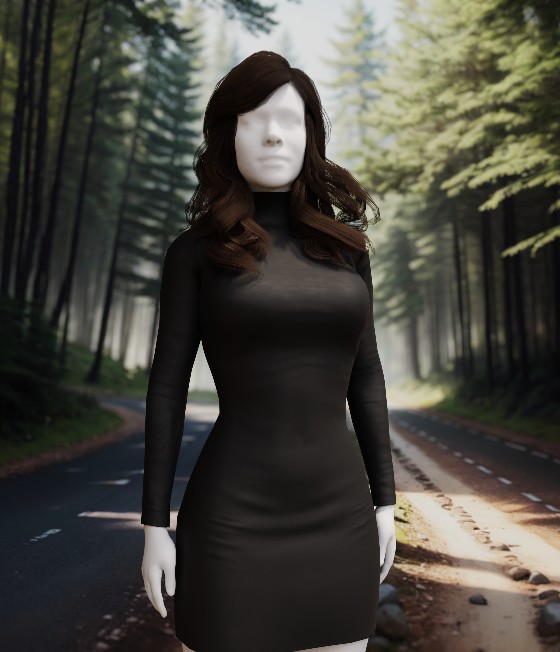 |
| transparent_half_body | Half body render with transparent background | 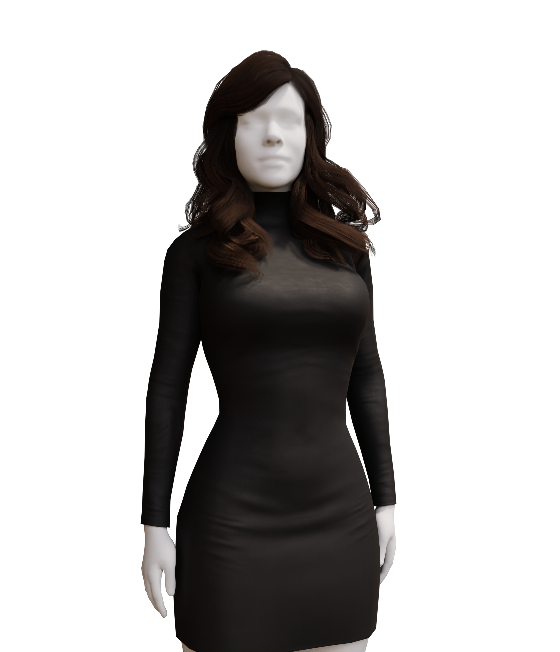 |
| transparent_full_body | Full body render with transparent background | 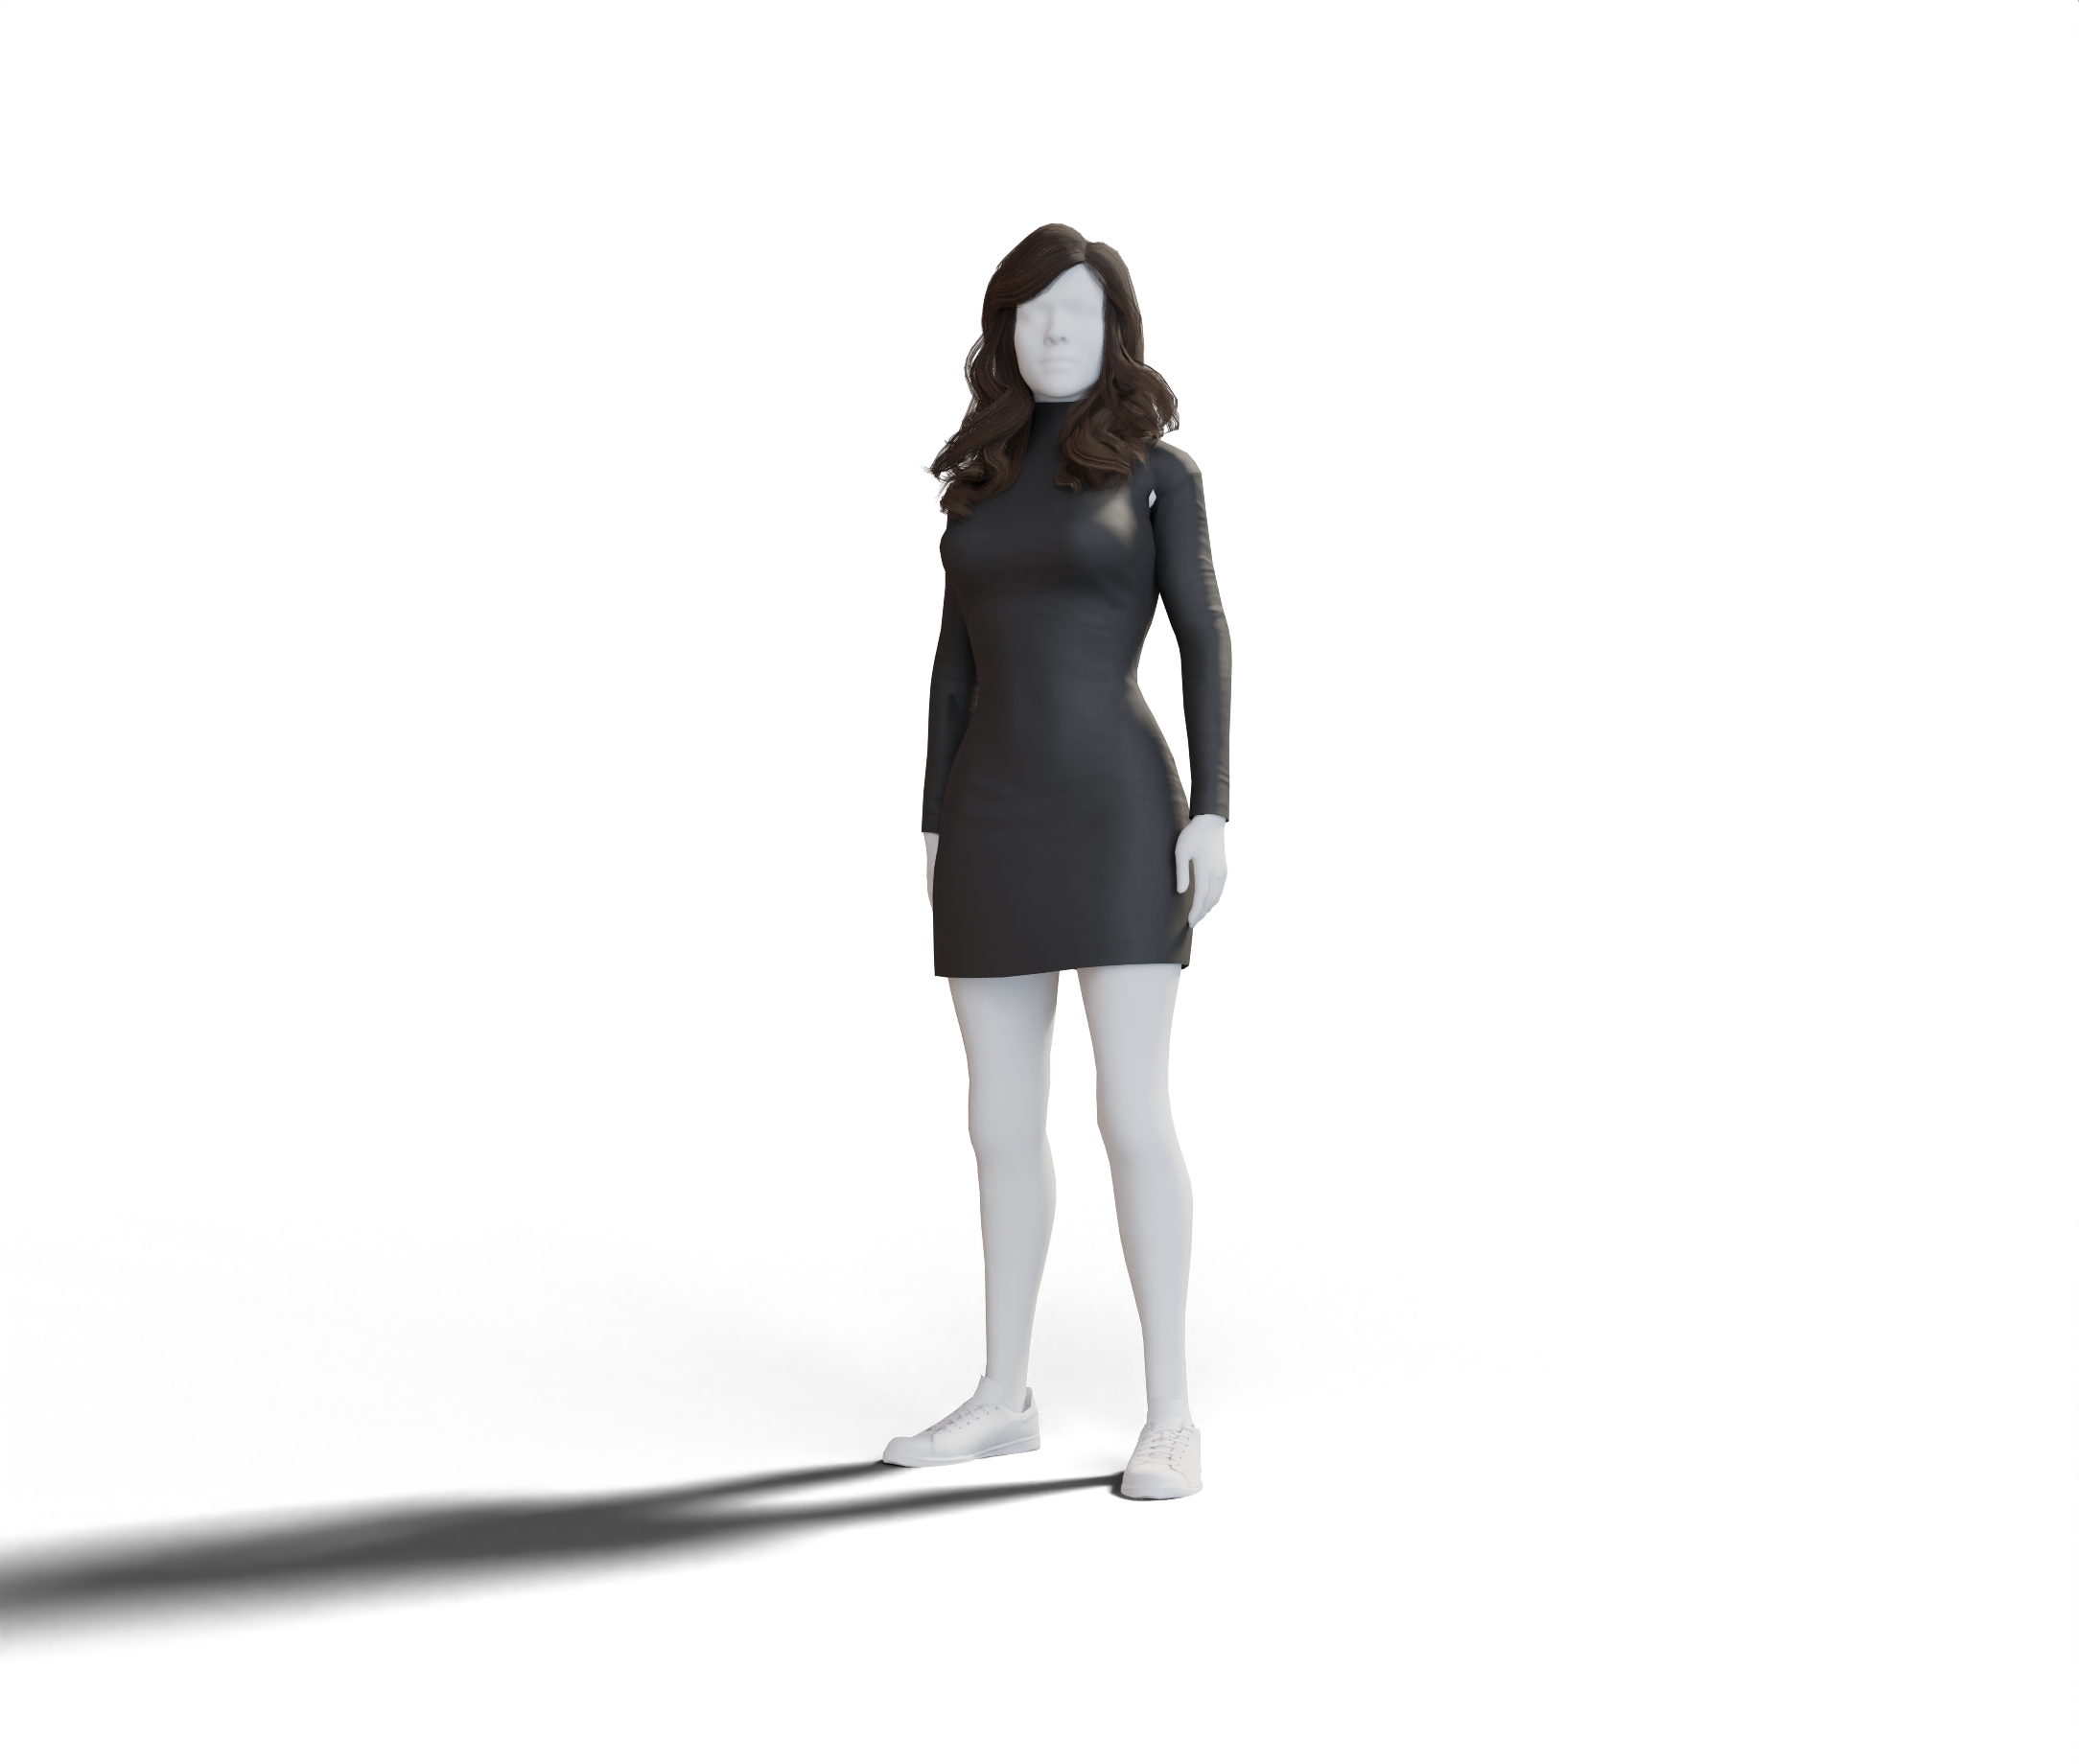 |
Custom Scenes
You have the option to create and upload your own scenes for rendering. Here’s how:
- Create a Blender Scene: Develop your scene in Blender. Use our provided scenes as a starting point.
- Important Elements:
- Pose and Camera: Do not remove or rename the "Pose" and "Camera" objects. You can adjust their positions and settings.
- Rendering Time: Ensure the scene renders within 30 seconds on our GPUs. For reference, our attached scene takes about 8–10 seconds.
- Flexibility: Apart from these constraints, feel free to design the scene as you wish.
Scene Submission
Send your custom Blender scene to us for integration. Ensure it meets the above guidelines for a smooth process.